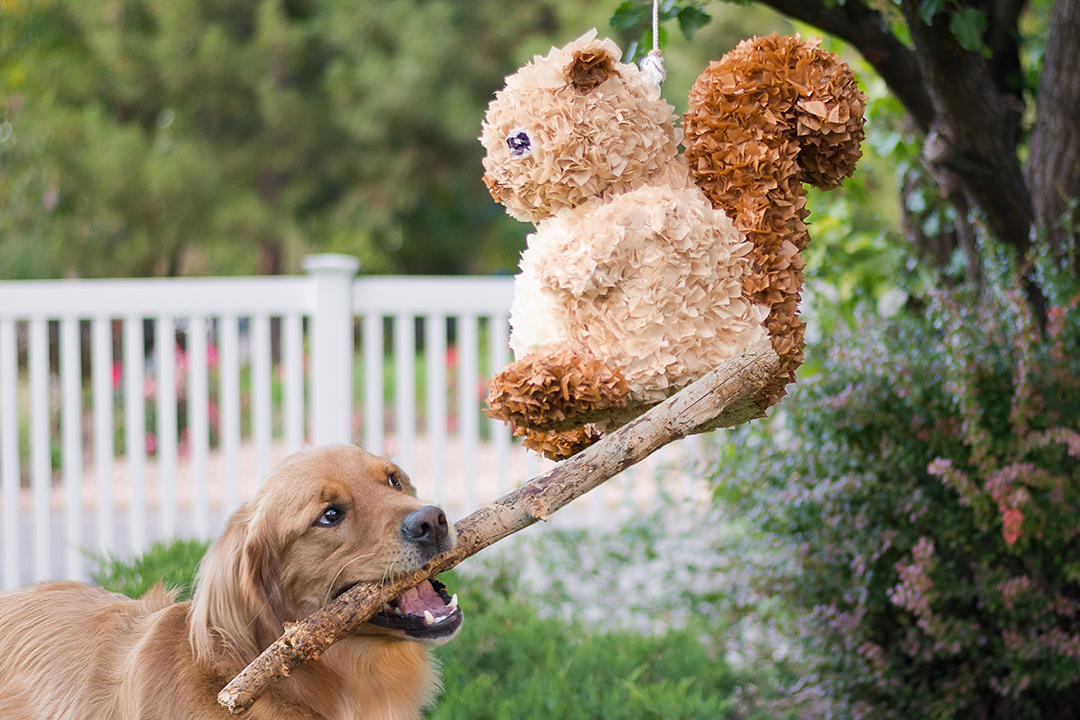
How to make a piñata using printed tissue paper
- Feb 28, 2023

Making a piñata is super easy, and with so many ways to do it, you won’t miss a method that suits you. In this article, we’ll tell you how to make a piñata using printed tissue paper.The history of the piñata reveals many amazing facts that go beyond the fun at a party. The origin of Piñata may be traced back in China when Marco Polo discovered the Chinese fashioning figures of animals like buffaloes, oxen, or cows covered with colored paper and decorated with trappings and harnesses.
During the New Year eve, the Chinese people would knock fashion figure hard using sticks, and the seeds entrapped in the figure would spill. The figure would then be collected and burnt to ashes, and the people would collect the ashes and keep it for good luck across the year. The idea was later carried to Italy where it became associated with the celebration of Lent and took on the name piñata or pot. The tradition travelled throughout Spain, Mexico United States of America etc, where it now remains classic for any party.
Today, a party isn’t complete without a piñata – because a piñata is packed with all kinds of goodies like confetti and candy. Besides, it is a festive way to get the whole party involved. Kids and grownups alike love being part of the action. So, if you have a birthday party coming up, and are thinking of ways to turn on the fun, then piñata is a great way to go.
Piñatas aren’t expensive to buy. And you don’t even need to buy one, you can just create one. In fact, it’s a lot more fun to make your own because you can involve your kids or friends in the process.
To make a piñata, there are certain things you’ll need including; a standard paper lantern, Printed tissue paper, scissors, floral tape, floral wire, and ruler. You’ll use the scissors to cut the printed tissue papers into strips and stack them through multiple layers with the help of white glue. The ruler will help you measure the width of each strip when cutting the printed tissue paper. Well, you could cut 2-inch wide strips for flat piñatas, or 6-to-8-inch long strips for curved piñatas - it all depends on what you want.
Steps
Begin from one end of the lantern’s opening and place glue around the rim. Put the tissue strips around the rim, while ensuring that the fringes face inward. Repeat the process all the way down until you cover the entire lantern.
You can add some flowers on your piñata for some extra flavor. Do this by creating a small hole on the lantern using the scissors and placing the flower with the floral wire, and securing the parts with floral tape.
Then, seal the bottom with a fitting tissue paper and stuff in candy that would spill out once the Piñata is broken. Hang it at your next party and watch people have fun with it. If your printed tissue paper isn’t strong enough to bear the weight of the confetti and candy, you can apply another later if tissue.


Validate your login